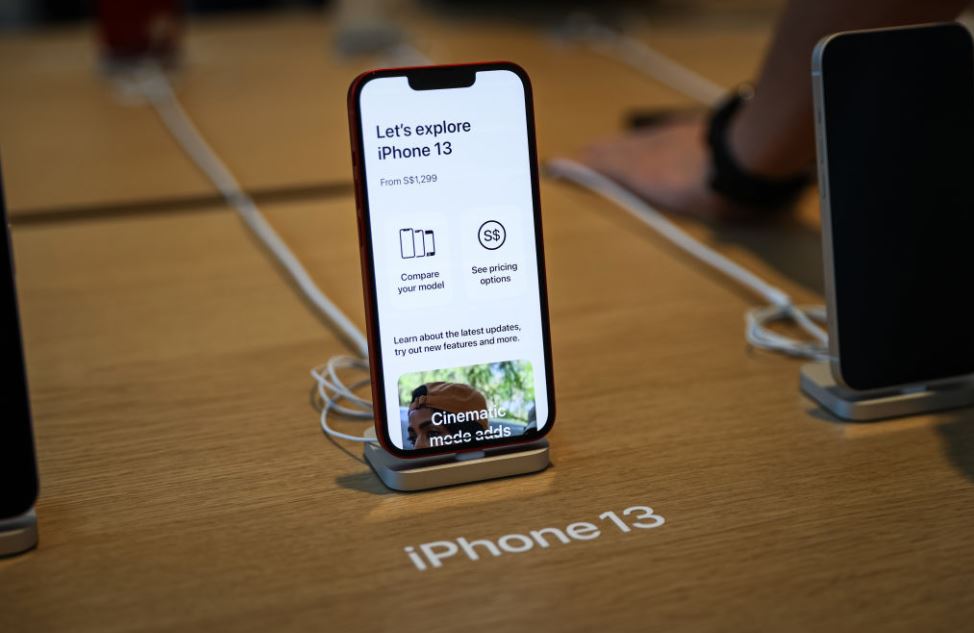
Congratulations on buying iPhone 13. You must be giddy with excitement right now and can’t wait to explore it! But wait, you can’t do anything without transferring previous data to your new device.
Every conscious user would want to make sure that they transfer data from their old phone to iPhone 13 carefully without losing anything. This decision is as crucial as signing up for your first mobile plans form top Spectrum cell phone plans because sometimes there are no take-backs. The good news is that Apple has made switching to the new iPhone 13 easier than ever before. You may switch from an older iPhone version to iPhone 13 using a variety of native and third-party apps.
Let’s discover the ways to transfer data safely and easily:
Method 1: Quick Start Setup
This method will work for you only if you are migrating data from an IOS device to iPhone 13. With the quick start setup, you can transfer all types of data including call logs, media, apps, messages, contacts, bookmarks, notes, etc. This will work only if both devices have IOS 11 or a later version.
Note: Make sure both devices are in the same proximity.
Here are the steps to get started:
- Turn on your new devices and log into your Apple ID
- iPhone 13 will ask you to if you would like to transfer data from your old iPhone
- Tap on it and this should start the migration
- Your new device will search for the previous device.
- Once it’s detected, you will be asked to verify your Apple ID
- Do that and hit the continue button
- Now, you will have to scan your phone
- For that, place your old device over the new one
- This will connect both devices
- Choose the type of data you want to transfer
That’s it, data migration will now begin. Keep on checking your iPhones until the process is complete.
Method 2: Use iTunes
This method will only work if you have already made a backup of your data from your old phone. At the time of setting up the device, iPhone 13 will ask if you want to restore the initial backup. You can also restore data after you have set up your new device. This, however, will erase all the data on your new iPhone.
To learn how to migrate to a new iPhone using an iTunes backup, simply follow these steps:
- First, take backup in case you haven’t by launching iTunes on your Mac Device
- Hit Device and then click on the summary tab.
- From there, choose backup now and make sure the back is happening on your local system
- Once you have taken the backup, turn on your iPhone 13
- Set up the device and open iTunes
- Hit the restore it from iTunes backup option
- Check your MacBook. A popup window should appear
- Choose the backup you want to restore and you’re done.
Note: This method will delete all data from your previous iPhone. Don’t try it unless you are sure what you are doing.
Method 3: iCloud Backup
Your next option is to use the iCloud backup. Because the iPhone migration and iCloud backup features are only available when setting up a new device, they may not be a viable option in many situations.
However, if you still want to give it a go, here are the steps:
- As you walk through the initial setup process, hit the restore from the iCloud backup button
- Enter your Apple ID credentials
- Choose the most recent backup from your old device
- Allow your iPhone 13 to restore the files.
- It should be done in 15 minutes and you will be all set.
Note: If your backup is more than 2 days old, go back to your old device and create a new backup to make sure you don’t miss anything.
Method 4: Use a Third-Party App
This method is for android users who have finally made it to iPhone 13. All you need is the Move to iOS app, which is available on Google Play Store.
It’s a totally free app and it lets you connect your Android phone to a new iPhone for essential data transfer. The only problem is it won’t transfer any locally stored audio or PDF files. You might want to explore this app more before getting started.