
Photo editing and mobile photography techniques have developed a lot throughout the decades.
Even if you’re not a professional editor You can still perform impressive photo editing with presets that are pre-made. This can all be accomplished with your smartphone, which makes it more fun and interactive.
So, if you’re a photoblogger or a Social Media Influencer, you’d like to keep your profile up to date with the latest and most relevant information for your followers. Editing photos is an integral component of this. If you aren’t able to modify your photos on the move, it can be quite frustrating for you.
This is where Lightroom Presets come in!
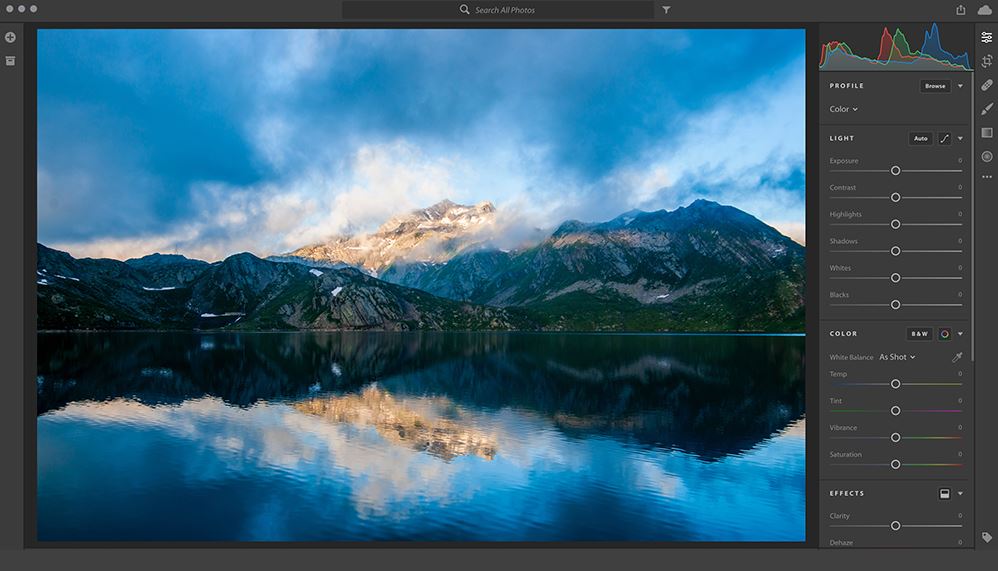
Presets can be installed for the Lightroom mobile then apply to photos to create professional edits in seconds.
We’ll look at the advantages that come with Lightroom presets and how to install and utilize the presets on Android.
How to Install Presets on Android
-
Using Creative Cloud Services
If you own an existing Desktop Lightroom version that syncs to your Android Lightroom app, you could load the presets into the app.
When you do that, they’ll appear when you open your mobile. This is the most convenient method to import the presets and then use them on your smartphone.
Here’s how to make use of the cloud’s creative cloud services to include Lightroom Presets in your Mobile Lightroom App:
- Download a collection of presets from the web.
- After that, start the cloud-based version of Lightroom on your computer.
- After that, select the menu option and select the File option from there.
- From the menu, select the Import Profiles and Setups option.
- Search your computer for the Presets.exe file.
- After that, choose the File and then click the Import Button.
- The preset will be included in the Lightroom
You can now log into the app and start opening your Lightroom mobile application. You’ll see the recently included presets on the Presets Tab.
-
Without Using Desktop
It is possible to add Lightroom Presets into your Lightroom App with the Desktop Lightroom app. The procedure is fairly simple.
So, it is ideal for those who are not interested in editing their photos and would like to edit their images on the go.
Here’s how to apply presets to Lightroom Android without using your desktop
- Download Lightroom Presets via the internet with your mobile smartphone.
- Run the Lightroom Mobile App.
- After that, you can go to the edit menu and select a photo from your Storage.
- Select from the Presets option on the edit page.
- After that, tap the three dots on the right-hand side of the menu to launch the settings for presets.
- Select the Import Presets Option.
- After that, select the Presets File from your storage.
- Wait for the Presets to Load up in the Adobe Lightroom Mobile App.
After that, when the presets download, you can apply them to your photographs. Keep in mind that all the settings store in the local storage on your smartphone.
Moreover, if the downloaded presets store on the cloud and you don’t have access to them, it won’t be possible to save them on the Lightroom mobile. So, as a result of that, the presets won’t be available in the cloud storage.
Final Words
That’s the only thing you need to know about it! The process of installing Android presets is very simple, and should you follow the procedures mentioned above for installation.
Moreover, utilizing Lightroom presets can provide you with an interactive editing experience. The presets can an excellent editing tool when you need to edit images on the go.
You could opt for manual editing if you wish to. If you’re looking to save time making use of Lightroom presets can help you achieve that.